Learn how to create bliking or winking eyes!
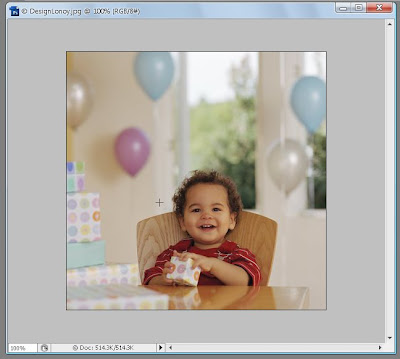
Step 1 Grab a beautiful portrait of Mona Lisa.

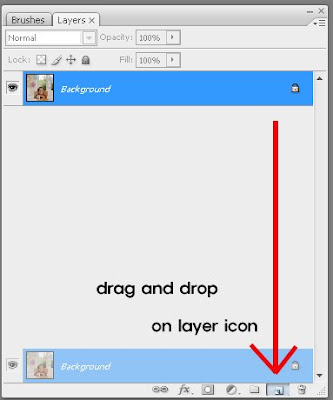
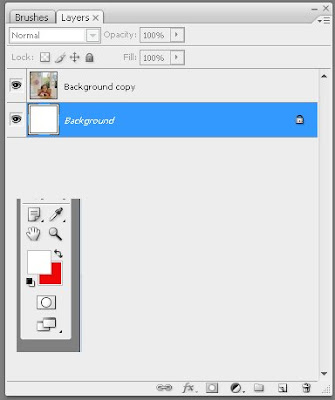
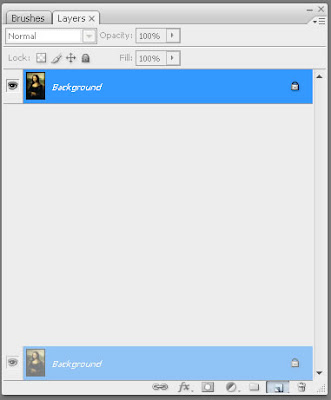
Step 2 Drag the "Background" over the layer icon to duplictate the background.
Step 3 Select the "Background Copy" and enter Filter > Liquidify or (shift+ctrl+x).
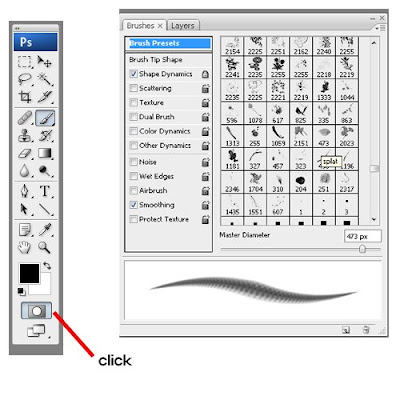
Then select the Freeze Mask Tool (F)
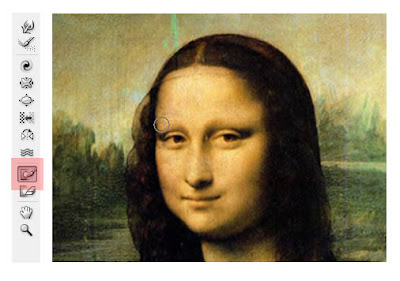
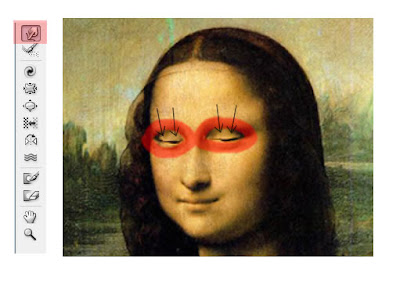
Step 4 With the Freeze Mask tool, carefully go around the eyes.
Use Thaw Mask Tool if you made any mistakes.
- Leave a little gap between the eye brows and the eyes for Warp tool.

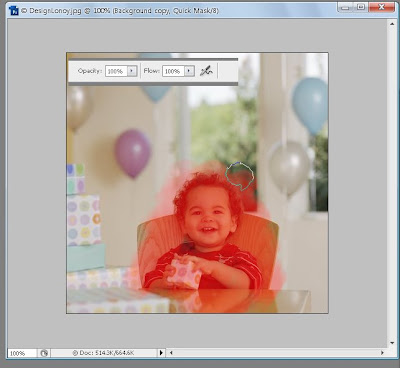
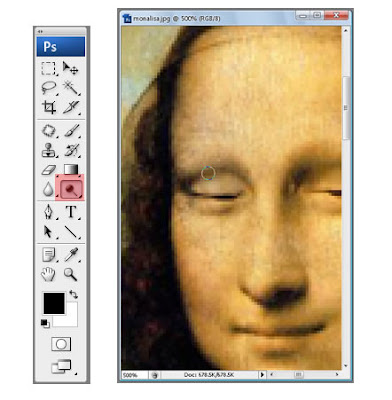
Step 5 Select Forward Warp Tool (W), and gently push down the eyes as shown.
- If you want winking, just push down one eye.
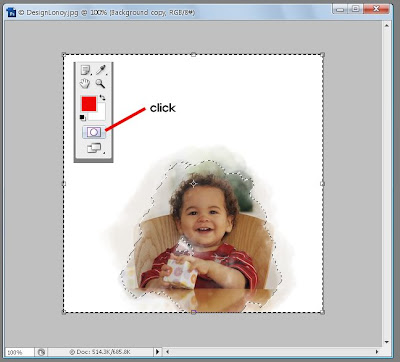
Step 6 Press OK and escape the Liquidfy filter.
Use the Dodge Tool (O) for finishing touch.
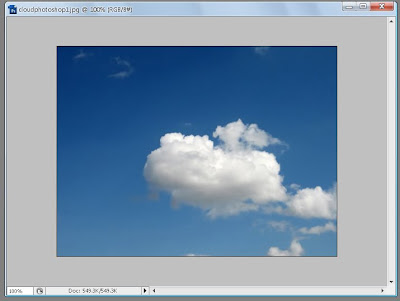
Step 7 Go back to Filter > Liquidify and use Forward Warp Tool as shown.
- This is to give natural looks when the picture blinks.

Left should be your original "Background", and "Background copy" at right.
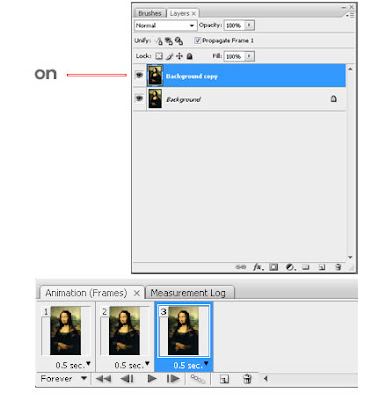
 Step 8 Go to Window > Animation to make GIF animation.
Step 9 Click "Duplicates selected frames" and turn the visibility off as shown.
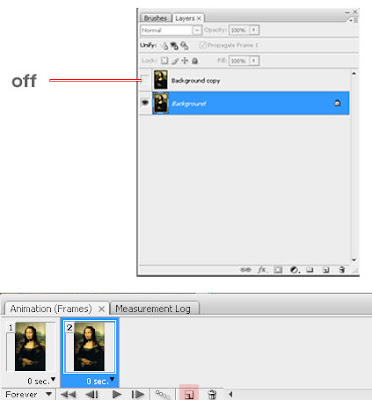
Step 10 Duplicate another frame and this time turn the visibility on.
Also set the delay time to 0.5 seconds.
Step 11 Go to File > Save for Web & Devices and press save.
(make sure the preset is GIF)
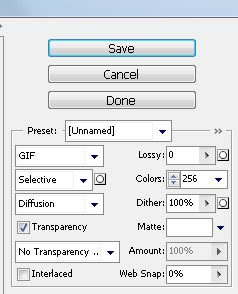
And you are done!